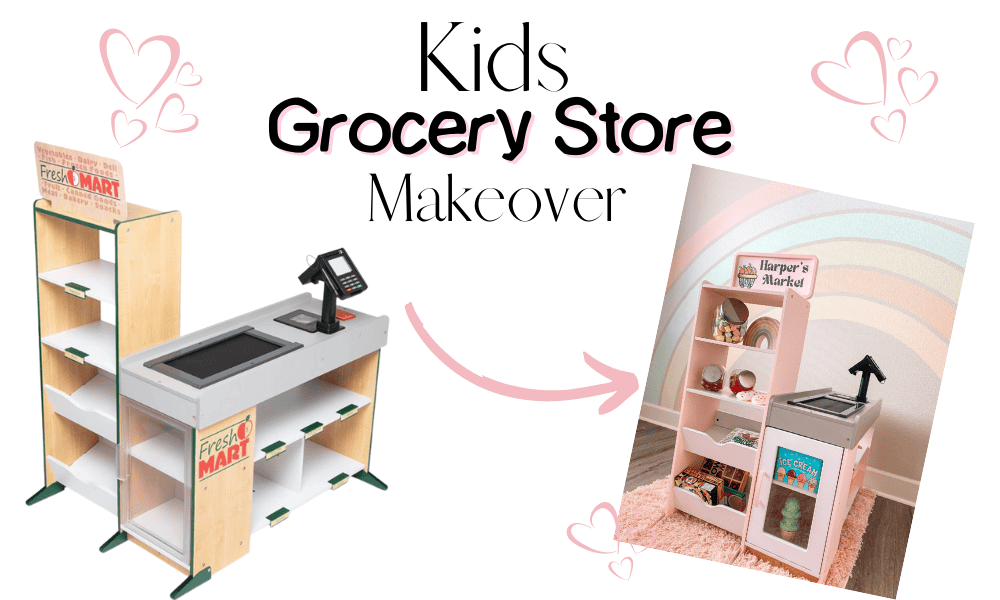
We did the cutest, pretty pink play grocery store makeover. While the Melissa & Doug Fresh Mart was cute on its own, I wanted the play grocery store to match our wooden playhouse in our playroom.
I made templates on Canva so my toddler can switch out the supermarket for a candy shop.
The toy supermarkets you find online are great, but it is always fun to customize to your home’s color palate or your kid’s favorite colors.
You can do any color you want for your play grocery store makeover. I have a few tips I learned along the way that can help. I made a couple of mistakes, not too big, but ones I did make, I can pass the knowledge to you.
Choosing the Best Pretend Play Grocery Store
I bought the Melissa and Doug grocery store for a couple of reasons. We go to these little children’s museums here in Fort Worth and they always have Melissa and Doug pretend play toys. My toddler always ends up at the toy supermarket area. She loves the grocery belt and the credit card pin pad.
We love Melissa and Doug’s toys in general. We own a collection of this brand’s toys because they are family-owned, really well-made, some are made out of sturdy wood, and promote creativity and imagination.
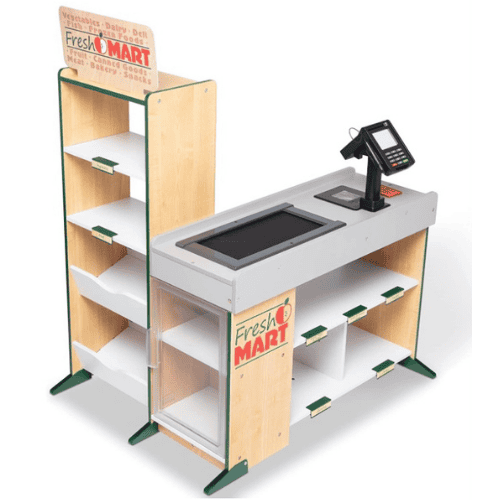
The Melissa and Doug Fresh Mart Grocery Store is a freestanding wood play structure with smooth, curved corners, is a good size for my three-year-old toddler to growing into but small enough to fit in our playroom. It also provided the best structure to paint and customize. The only negative to this grocery store is it does not come with pretend food or accessories.
The Play Grocery Store Details:
- A converyor belt for your pretend play food
- A beeping “scanner” and the modern credit card machine that is our favorite part of the whole store.
- Your child can shop on one side and an “employee” scanning groceries on the other
- There is shelving on two sides to put play food and in our case, candy jars and ice cream
- A grocery store sign in which we easly made new signs to match the new color
Other Play Grocery Stores to Consider
I researched pretend play grocery stores that you could possibly do a makeover/hack on. These play supermarkets would be an easy customization and easy to paint (see tips on paint because the right one matters).
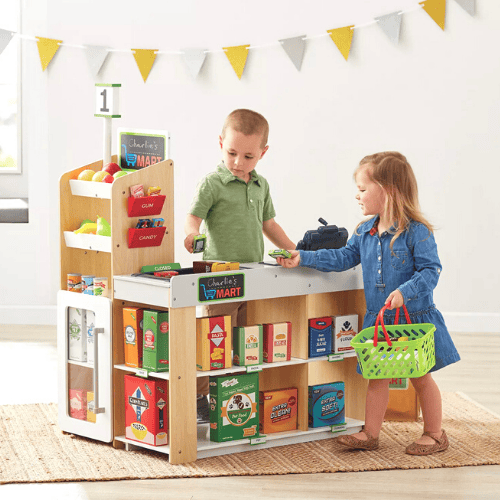
Sam’s Club Play Grocery Store. This budget-friendly toy supermarket is under $100 and comes with 65 detailed accessories. The play grocery cart and shopping bags are included. This little grocery store sells out all the time because of its price and popularity. If you see one in stock, snag it.
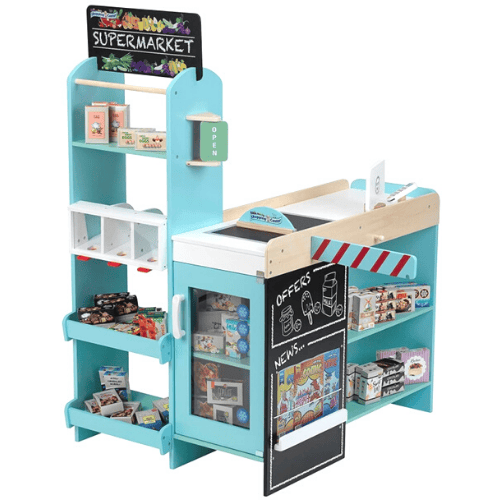
Theo Klein Wooden Supermarket. This adorable wooden supermarket is bright and colorful and comes with several accessories for imaginative play. This kids market has three working food containers you can fill with treats, a chalkboard for specials of the day, and a working point of sale terminal.
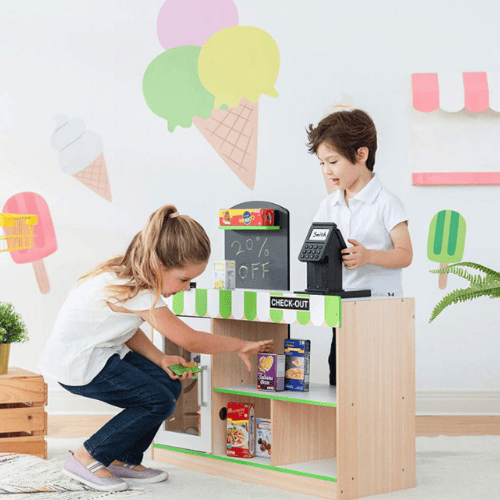
Austin Play Market. This pretend play grocery store is great because of its shape. It makes it easy to put against a wall when done or position the store in a room. This wooden grocery store features a real working scanner, cash register and conveyor belt that moves the food items up to the checkout counter.
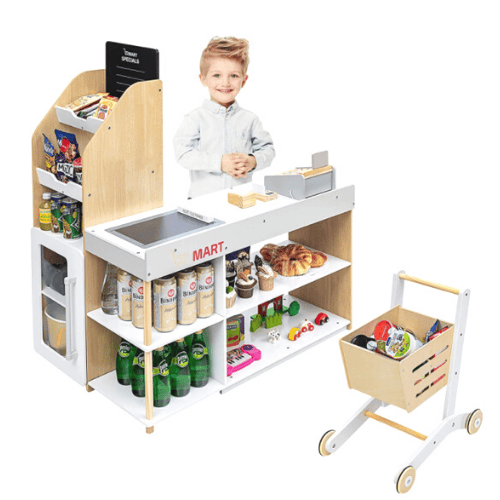
The Honey Joy Wooden Grocery Store Playset would be a great option for a makeover. It even comes with a cute grocery cart that could easily be painted. This play grocery store is similar to the Melissa and Doug Market with a conveyor belt, a wooden cash register, play money and accessible shelves.
Our Very Favorite Toddler Pretend Play Toys!
Melissa and Doug Fresh Mart Makeover!
I painted my entire grocery store in the garage on old sheets. I have a few tips on the mistakes I made while painting the store.
Items you will need:
- Old clean sheets or painters plastic
- A scratch resistant paint for wood. I paid a bit more for my paint because I did not want it to chip or peel. The paint I used was BEHR Ultra Scuff Defense. I used the eggshell sheen in “Pink Elephant.” This paint has a primer already in it and since the grocery store has a slick coating, you will need a paint and primer to grip the surface. This is really important.
- A cheap foam roller paint kit with large and small foam rollers and brushes. The foam rollers worked well on this surface and with the paint.
Step One
Remove all your play grocery store pieces from the box. The small pieces like the legs, screws, and plastic pieces are separated in a bag, put aside because we will save the hardest for last.
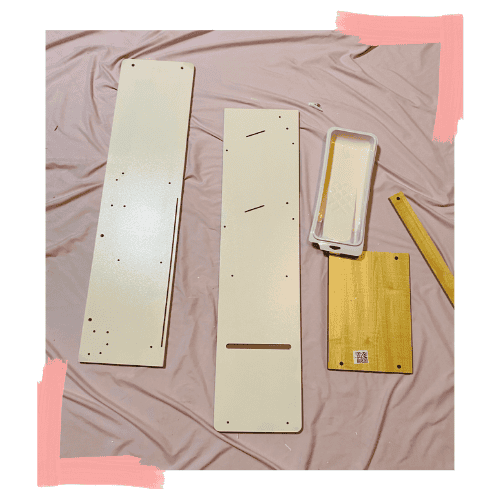
Lay all your wood pieces down on your plastic or sheets. The painting process of these wood sheets must be done with patience and a couple of days.
**This is very important. Each layer of paint needs to be dry before adding another. Get a nice, even layer on one side and let it dry. I cannot stress this enough. Its like layering your fingernails with polish. They will smudge, chip and never dry properly.
Each wood surface you paint no matter how tempting it is to do more layers, you must allow ample amount of time to dry. Or you will just have smudgy paint. I am going to say two hours between each layer.
Each surface will need two-three layers of paint.
I painted everything that was brown and green on the Melissa & Doug Fresh Mart. Everything that was white, I left white and did not paint.
The edges of each panel have a green lining you will have to paint and let dry several times. You will need something to prop up your wood panels on to complete this. The paint glides over these easily. I used a small foam roller and checked the flat sides in case the paint seeps to the sides and just roll over it to even it out.
TIP: After having four toddlers of my own and countless nieces and nephews, when I buy play food or accessories, I always buy Melissa & Doug Play Food or Learning Resources. Both are well made and do not come apart. Sometimes if you buy the cheaper cardboard or plastic play food, they just do not hold up well to toddlers.
Step Two
Take your plastic pieces out of the bag one by one and mark/number each piece to keep in order for when you go to put the store together. The metal and plastic pieces are a bit tricky to paint but this is what I learned.
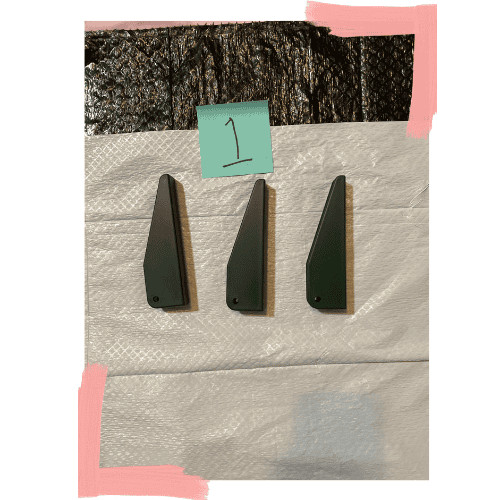
I used pink spray paint for the plastic pieces and the metal legs of the play grocery store. It did not work out like I thought it would. It did not dry properly and those little pieces are not easy to paint without the spray paint bleeding.
If I could go back and redo this part of the makeover, I would paint the pieces with the paint I purchased. Use cloth underneath your plastic pieces to dry. Not plastic. You will have to paint each side and let it dry and repeat.
Step Three
Let all your pieces dry completely before assembling. I would give the paint 24 hours to sit on the wood and dry.
Put together your play grocery store! These are relatively easy to put together. Be careful not to scratch the paint while assembling. The shelving can be a bit tricky to squeeze in without damaging the paint.
Add all your fun play food and have the best time with your toddler! We just collected plastic candy jars, play food and little pink baskets.
I measured the grocery signs to make a new sign to match on Canva. Canva is so fantastic for thousands of projects.
Depending on the play grocery store you choose, you can easily measure and make new graphics on Canva for free. They have templates for just about anything.
I then sent the graphics over to Office Max to be printed on heavier paper. Simply glue the new graphics onto the sign!
Play Grocery Carts
Your toddler’s play grocery store would not be complete without a play grocery cart. Not all play grocery carts are created equal. Melissa and Doug by far have the best play grocery cart and we love ours. You may not prefer metal and may like plastic.
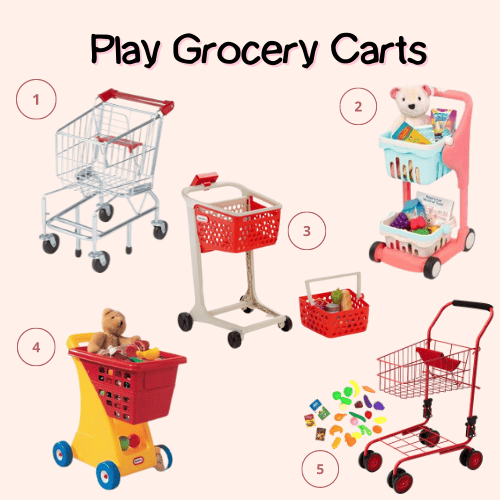
- Melissa & Doug Pretend Play Grocery Cart
- Shop & Glow Toy Cart with Teddy Bear
- Little Tikes Shop & Learn
- Little Tikes Shopping Cart
- New York Doll Shopping Cart

We had a lot of fun doing this little play grocery store makeover! The grocery stores as-is are cute but we wanted to match the paint on our wooden playhouse we have in our playroom. I used the same pink paint and it goes well with our rainbow wall mural. Additionally, we wanted to be able to switch it out to make it a candy store! We hope you enjoyed this post and hope you follow along with our tiny adventures below!

- Our Dreamy Wooden Playhouse Makeover
- Our Favorite Gifts For Toddler Girls!
- DIY Rainbow Wall Mural Under $100!



Comments are closed.